Quick answer
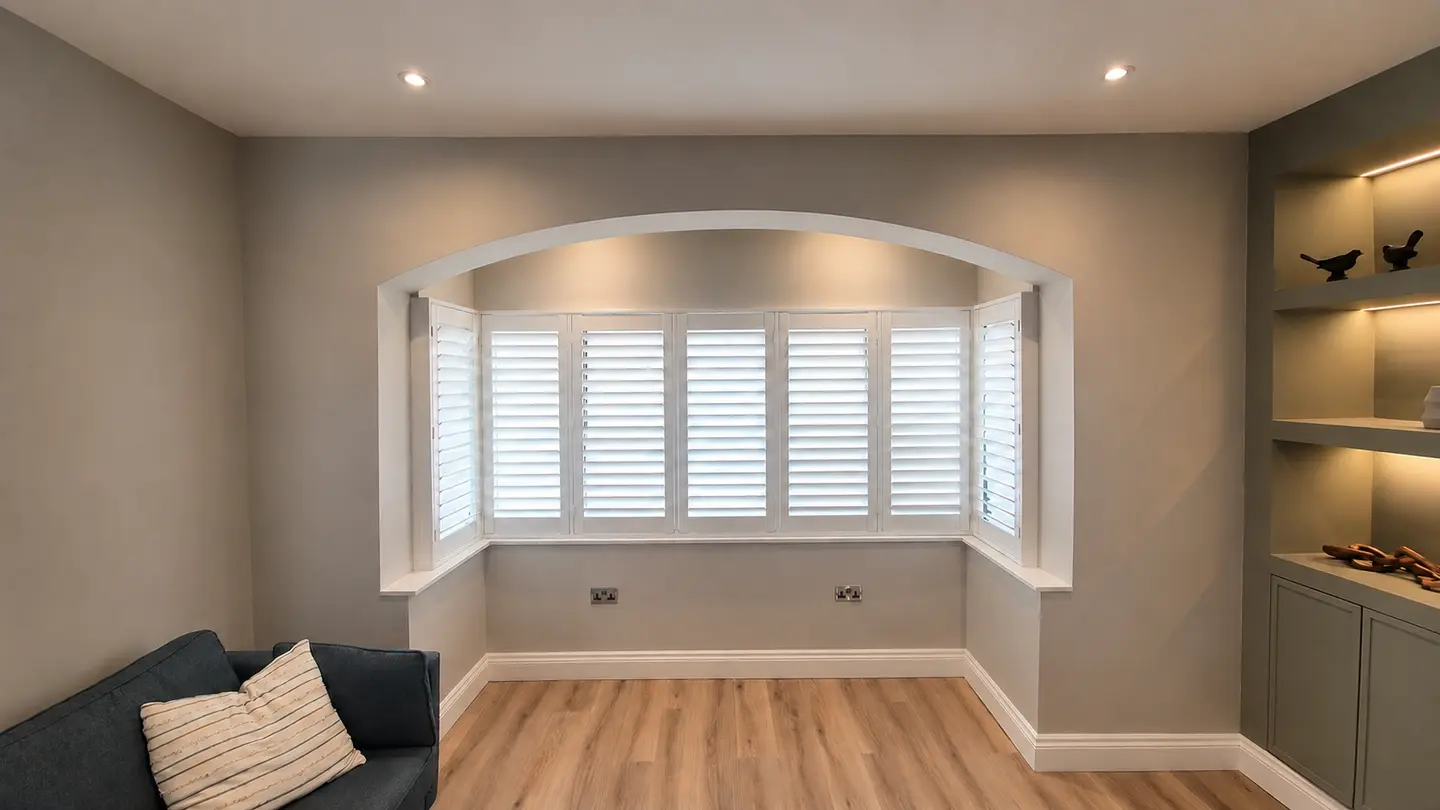
Hidden tilt shutters let you adjust a linked group of louvres by moving one louvre, without a control rod on the front. Visible tilt rods move the connected louvres from a front-mounted bar. Choose between them by comparing the appearance and how comfortably you can reach and use each control.
Key takeaways
- Hidden tilt leaves the front of the louvres clear of a control rod. You still adjust them by hand.
- A visible rod can help with reach on a tall window. Try the proposed control position before choosing.
- Split controls let you angle upper and lower louvres separately. They do not create separately opening shutter panels.
Hidden tilt is the most popular control among Shutters Design customers: about nine in ten choose it. It is a good starting point if you prefer no visible front rod, but a tall window can make a visible rod more practical.
What are tilt rods?
A tilt rod is the bar that moves a connected group of shutter louvres together. Louvres are the horizontal slats that you angle to adjust light and privacy. With a visible rod, you move the bar rather than setting each slat separately.
The familiar centre rod runs down the front of the panel. You may see it described as a traditional tilt rod. That describes the control, not a different shutter material or a rule about which homes can use it.
Tilting the louvres and opening the shutter panels are separate actions. The rod controls the louvre angle, not the panel hinges. Our beginner's guide to plantation shutters explains the wider choices if you are comparing shutters for the first time.
Can you have shutters without a visible tilt rod?
Yes. Hidden tilt shutters have no control rod across the front of the louvres. You move a louvre by hand and the connected group follows. You do not need to adjust every slat individually, and the shutter still has a mechanism linking them together.
Not every shutter without a visible front rod uses the same construction. The BBSA guidance distinguishes rear hidden systems from mechanisms inside the stile. The stile is the panel's upright side section.
When comparing products described as hidden tilt, ask to see the front and back of the actual sample. That shows what remains visible from each side. Confirm which mechanism the quotation includes, especially if you are comparing samples from different suppliers.
Should you choose hidden tilt or a visible rod?
Choose hidden tilt if you prefer the front without a rod and can comfortably reach a louvre in each controlled section. Consider a visible rod if you like that detail or find the bar easier to reach. The useful comparison is how you will operate the shutters in your room.
Compare hidden tilt and visible tilt rods
| What matters | Hidden tilt | Visible tilt rod |
|---|---|---|
| Front appearance | No control rod across the louvres. | A bar forms part of the panel's appearance. |
| Everyday operation | Move a louvre to adjust its linked group. | Move the rod to adjust its linked group. |
| Reach | You need access to a louvre in each controlled section. | The rod may give you a more convenient place to operate a tall section. |
| Cleaning access | No front rod to work around. | Clean around the front rod and its connections. |
Check reach at the window
Imagine a tall living-room window with separately controlled upper louvres. A small sample held at waist height will not show whether you can reach that upper group. Ask where its lowest accessible louvre or rod will sit, then check from your normal standing position.
You do not necessarily need to reach the very top louvre. You need a comfortable way to move each linked group. Include anyone who uses the room in that decision, and account for a deep sill, desk or sofa in front of the window.
Keep the cleaning difference in proportion
Hidden tilt removes the front rod from the area you dust, but both options still need routine cleaning. For our Polycomposite shutters, use a gentle damp cloth. For Hardwood, use gentle dusting or a soft dusting brush.
Choose the material for the room as well as the control for your hand. Our Hardwood and Polycomposite comparison explains that separate decision.
When are split tilt controls useful?
Split tilt controls are useful when you want to angle the upper and lower louvres differently. For example, you might close the lower group for privacy while leaving the upper group angled for daylight. Agree which louvres should move together and where the split should sit before ordering.
This does not mean you need tier-on-tier shutters. A full-height shutter can remain one continuous panel with separately controlled louvre groups. Tier-on-tier uses separate upper and lower panels that open independently. Our shutter styles guide shows the difference in panel layout.
At the survey, discuss the window divisions, the privacy you need and how you will reach each group. Do not assume the split must sit halfway up the panel. The suitable position and any need for a horizontal midrail depend on the proposed shutter specification.
What should you check before ordering?
Try both controls on a sample, then relate that movement to the full-sized shutters in your room. For a window where every louvre group is comfortably reachable, we recommend starting with hidden tilt if you prefer the front without a rod. Keep a visible rod in consideration where reach makes it more useful.
Before agreeing the specification, check:
The front and back appearance of the actual control system.
Where you will put your hand to adjust each louvre group.
Whether upper and lower louvres should move together or separately.
Any furniture or window recess that affects access.
The control choice and complete price in the written quotation.
Book a free home survey with Shutters Design to compare the options for your windows. We measure, supply and fit the shutters, so you can agree the controls and panel layout together before ordering.